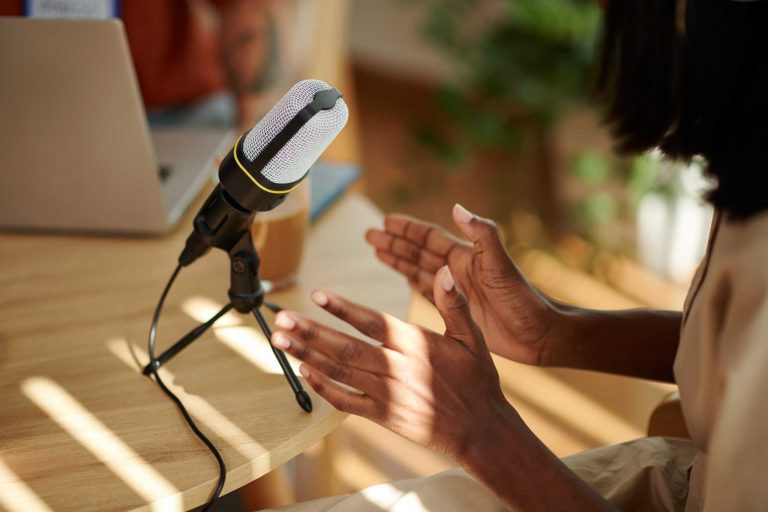

Starting a voice-over career today often means working from a home studio. Whether you’re recording auditions or full projects, having the right setup is key to producing professional-quality audio that stands out.
Choosing Your Microphone
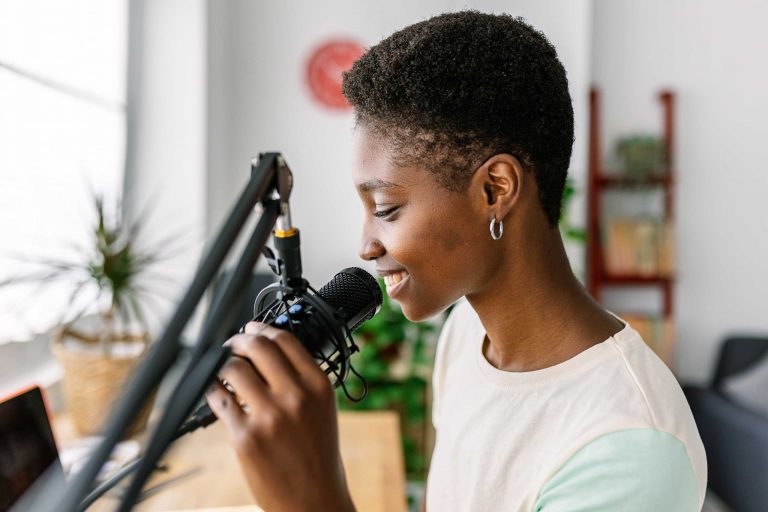
Your microphone is the heart of your home studio. Investing in a quality mic can make a huge difference.
- Condenser microphones are popular for voice-over because they capture detail and nuance.
- Dynamic microphones are less sensitive to background noise and great for untreated rooms.
- Consider your budget but remember that a good microphone is worth the investment for clear recordings.
Acoustic Treatment Basics
Recording in a noisy or echo-prone space can ruin your takes. Creating a controlled environment is essential.
- Use soft materials like foam panels, blankets, or curtains to reduce reflections.
- Position your microphone away from hard surfaces and windows.
- Small changes can make a big difference — even a closet filled with clothes can serve as a simple vocal booth!
Essential Accessories
Along with a microphone, a few key accessories will improve your recordings:
- Pop filter: Prevents plosive sounds (“p” and “b” sounds that cause bursts of air).
- Mic stand or boom arm: Keeps the microphone steady and at the right height.
- Headphones: Closed-back headphones help you monitor recordings without bleed.
Recording and Editing Software
You don’t need expensive software to start. Many free or affordable digital audio workstations (DAWs) are beginner-friendly:
- Audacity (free)
- GarageBand (Mac users)
- Adobe Audition (professional option)
Learning basic editing skills like noise reduction, trimming, and leveling will enhance your final product and impress clients.
Creating a functional home studio may seem overwhelming, but with the right knowledge and equipment, you’ll be able to deliver recordings that compete with professional studios.